
Google recently announced a new version of Analytics, Google Analytics 4 and it comes with a number of new features that make it very different from the old version. With the current analytics platform being discontinued, it also means you need to act to ensure you continue to record essential data on your digital assets, as well as take advantage of the new features that are on offer.
How to setup Google Analytics 4 (GA4)
Why do I need to switch to GA4?
All standard Universal Analytics properties will stop processing new hits on July 1, 2023, as Google makes the move to deprecate universal and focus on GA4.
Whilst July 2023 seems a long way off, putting the preparation in now will be beneficial. GA4 will be the new default Google Analytics moving forward as any new Analytics setups will now require you to set up GA4 in place of UA.
GA4 hasn’t rolled out all of its capabilities yet so don’t be hasty with switching away from UA straight off the bat. To get ahead of the curve, you can set up a GA4 property to run in parallel with Universal Analytics now - meaning that once universal stops you’ll still have access to historical data and tracking will continue via GA4.
But first, find out what the switch means for you…
How is it different to universal analytics?
There has been plenty of confusion surrounding the differences between GA4 and Universal Analytics over the last few months. Simply put, GA4 uses a different data structure and data collection logic to that of universal analytics. Now we see everything built around users and events rather than sessions, meaning that an events-based model processes each interaction as a standalone event.
The main changes include:
Events in GA4 are grouped into 4 categories
In UA an event comes with a category, action, label and hit type. In GA4 every hit is an event and events can contain parameters. (although they don’t have to.) The four categories events are grouped into in GA4 include recommended events, automatically collected events, enhanced measurement events and custom events.There are no longer monthly hit limits
Whilst the free version of UA had a monthly limit of 10 million hits, GA4 has done away with that. Instead, there is a limit currently set at 500, on the number of events that can be captured. This of course could change.The interface
Most people’s first impression of logging into GA4 is that there seems to be a lot missing with much fewer reports available, however, most reports are generated in GA4 once you start tracking events. So there may be some manual setup you need to do before seeing all of the data and information you require. If you’re not comfortable with setting up events, we can help you through the process.Data retention
Whilst UA stores your data without limits, GA4 is designed to hold onto it for 14 months before it expires. The only other option is to reduce it down to 2 months. It might be that you want to move your data to another platform, such as BigQuery, to retain that data, with the ability to continue comparing reports year on year if that is something of importance to you.
Overall, the idea is that GA4 should offer a more flexible approach with a better ability to predict user behaviour and actions.
So how do you set up GA4?

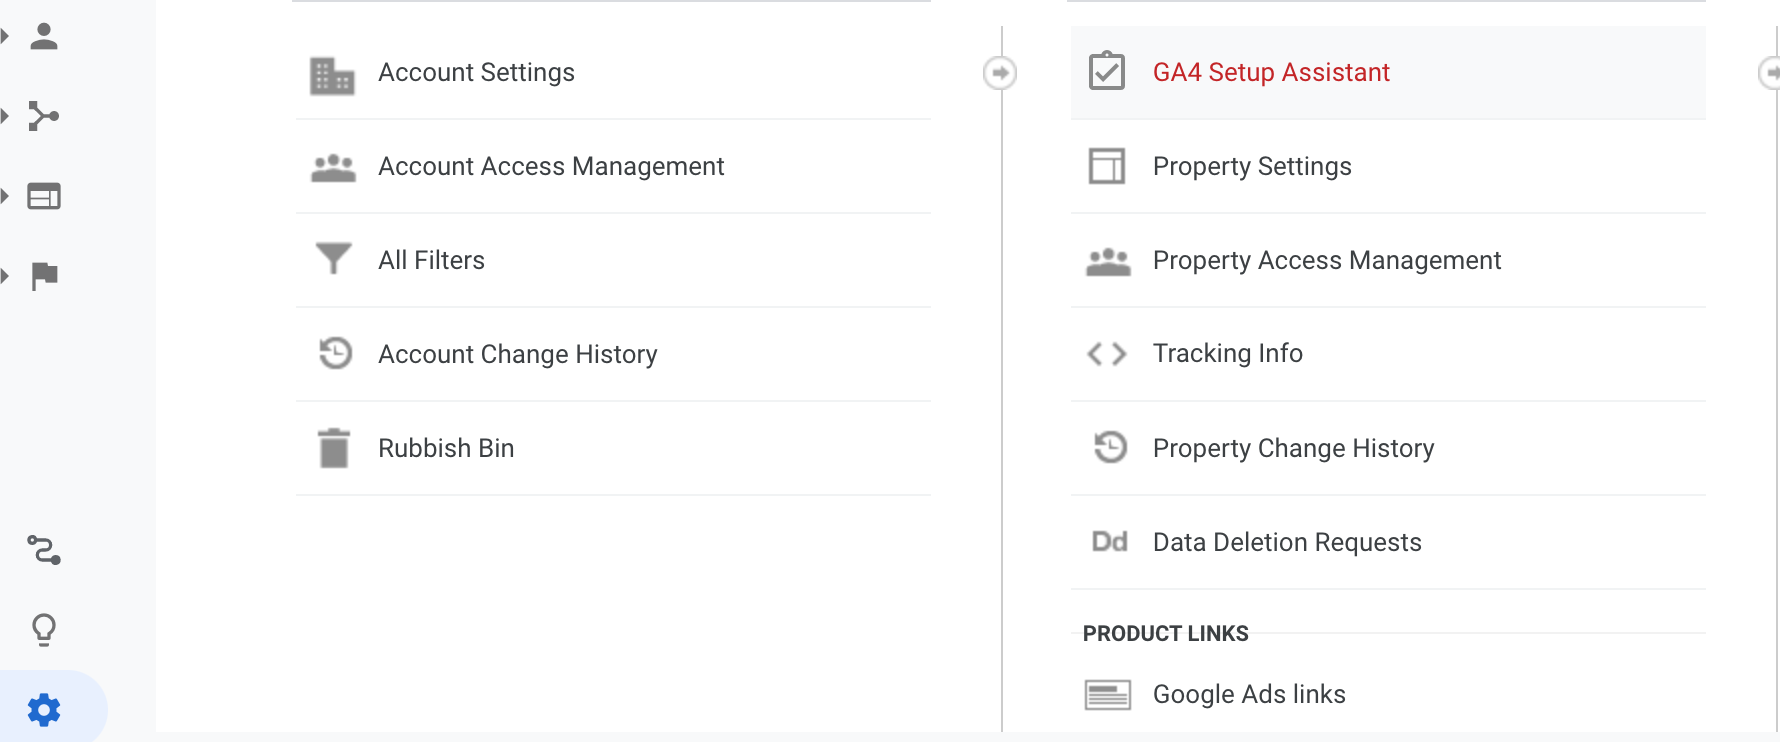
Step 1: Navigate to your Admin Settings. Under Property, click on the GA4 setup assistant
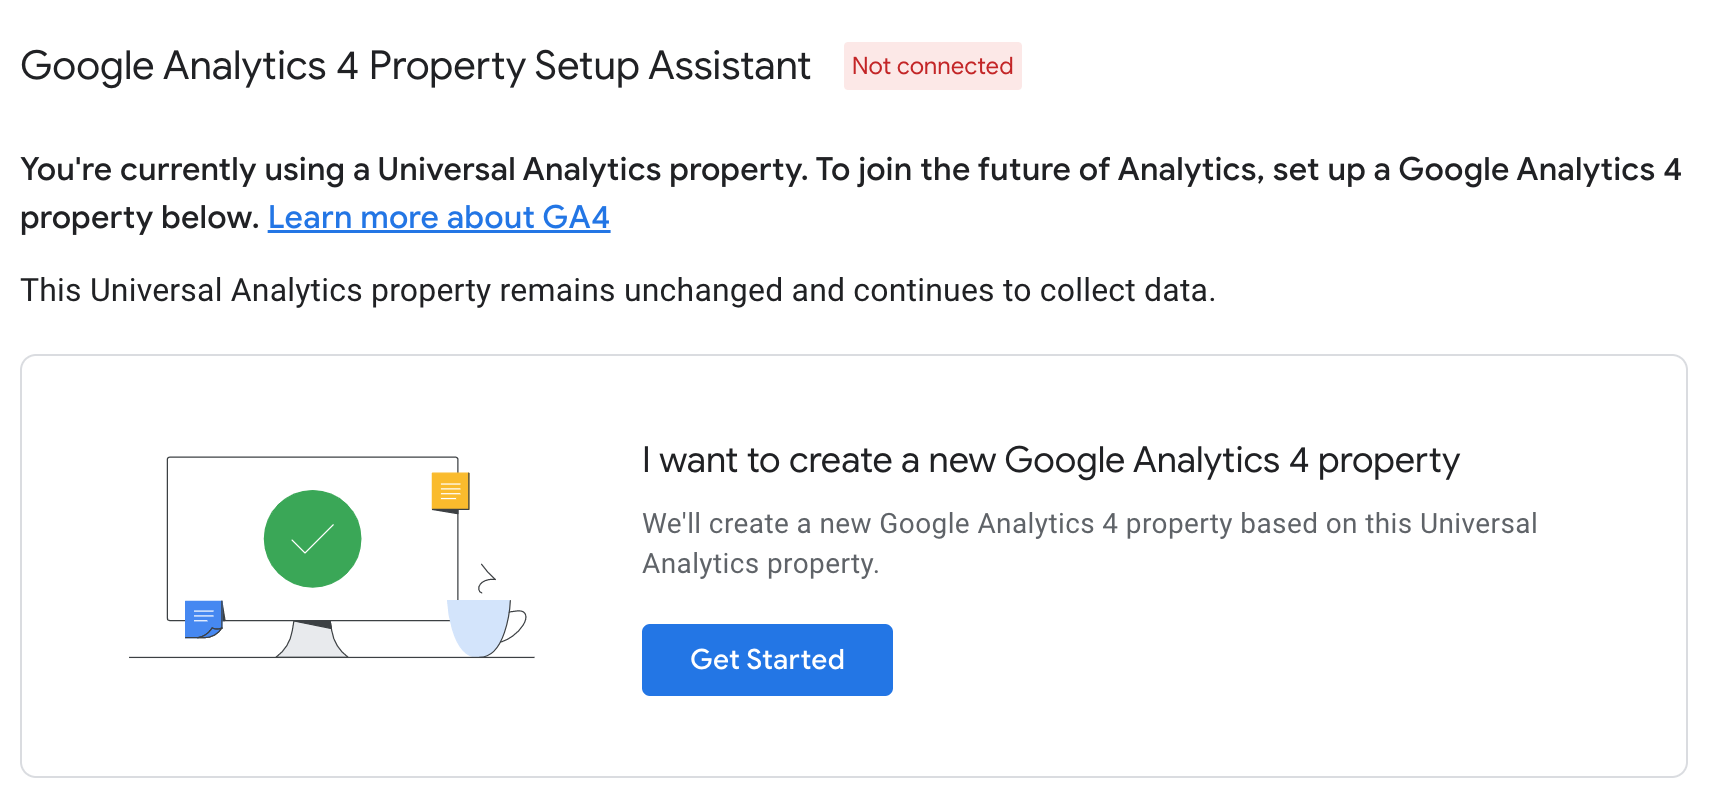
Step 2: Click ‘Get Started’ to begin the setup process. You will have a number of options to choose from depending on your current GA setup.
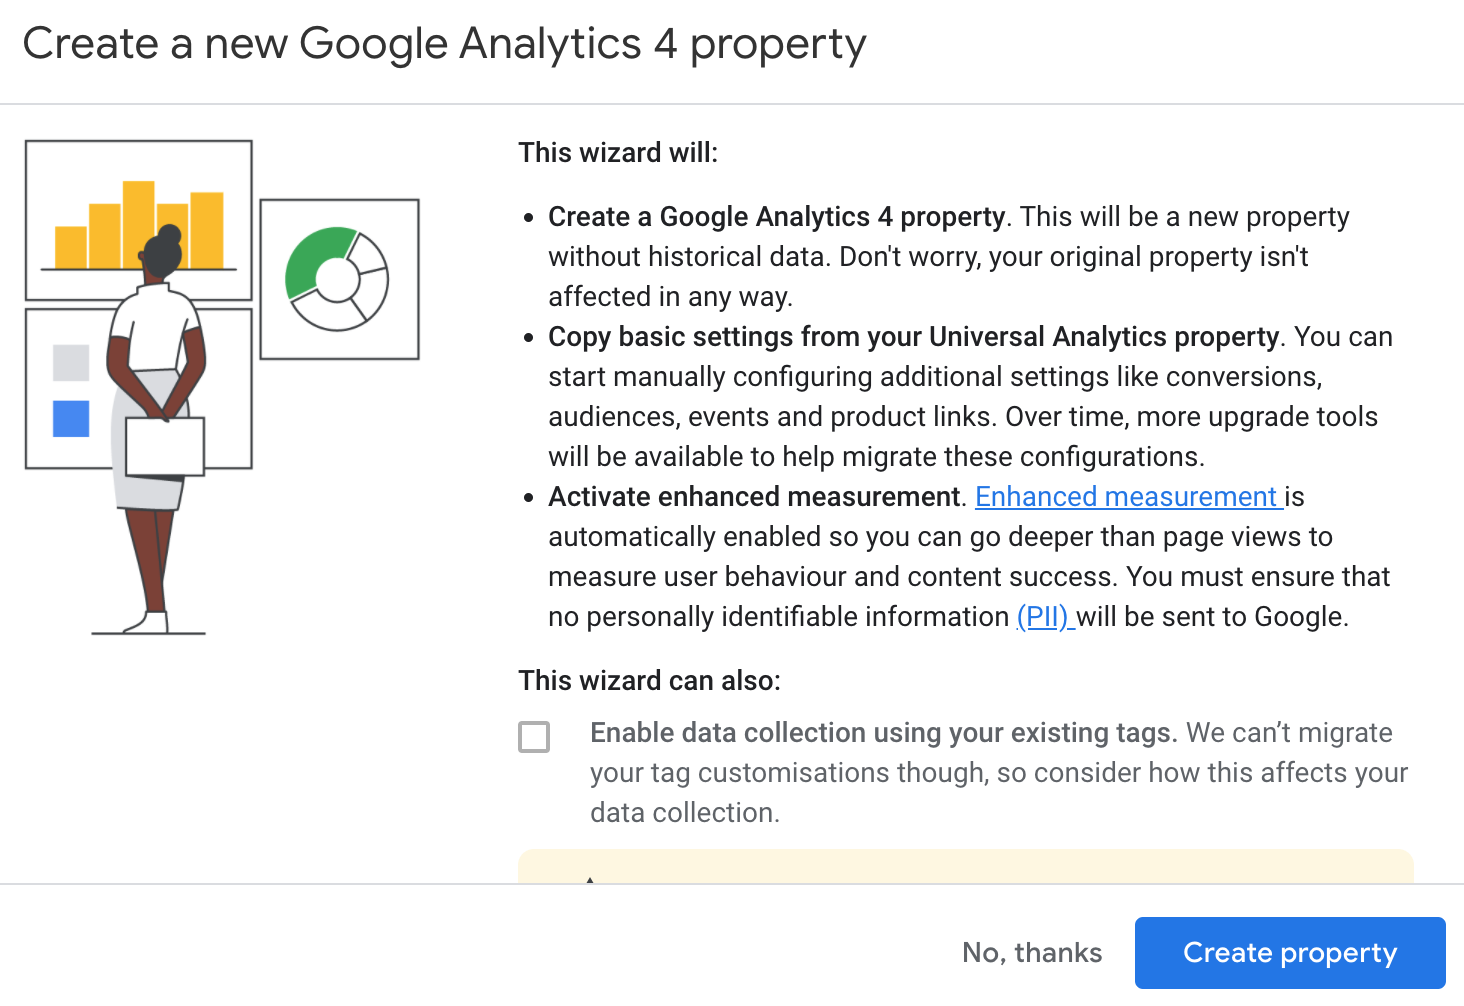
Step 3: Depending on your set up, you may be able to select the box to enable data collection using your existing tags. Then click on ‘Create property.’
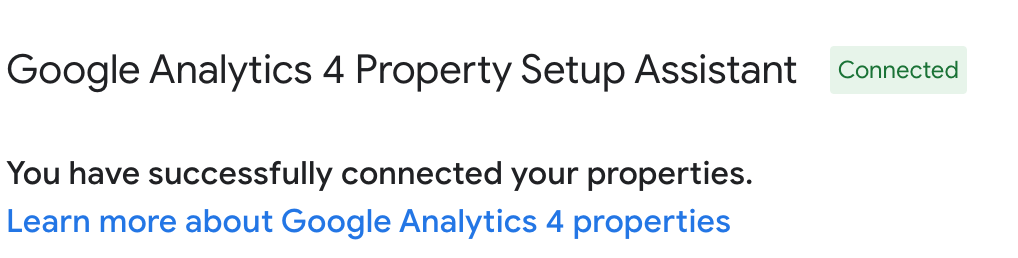
Step 4: Select the 'See your GA4 property' button

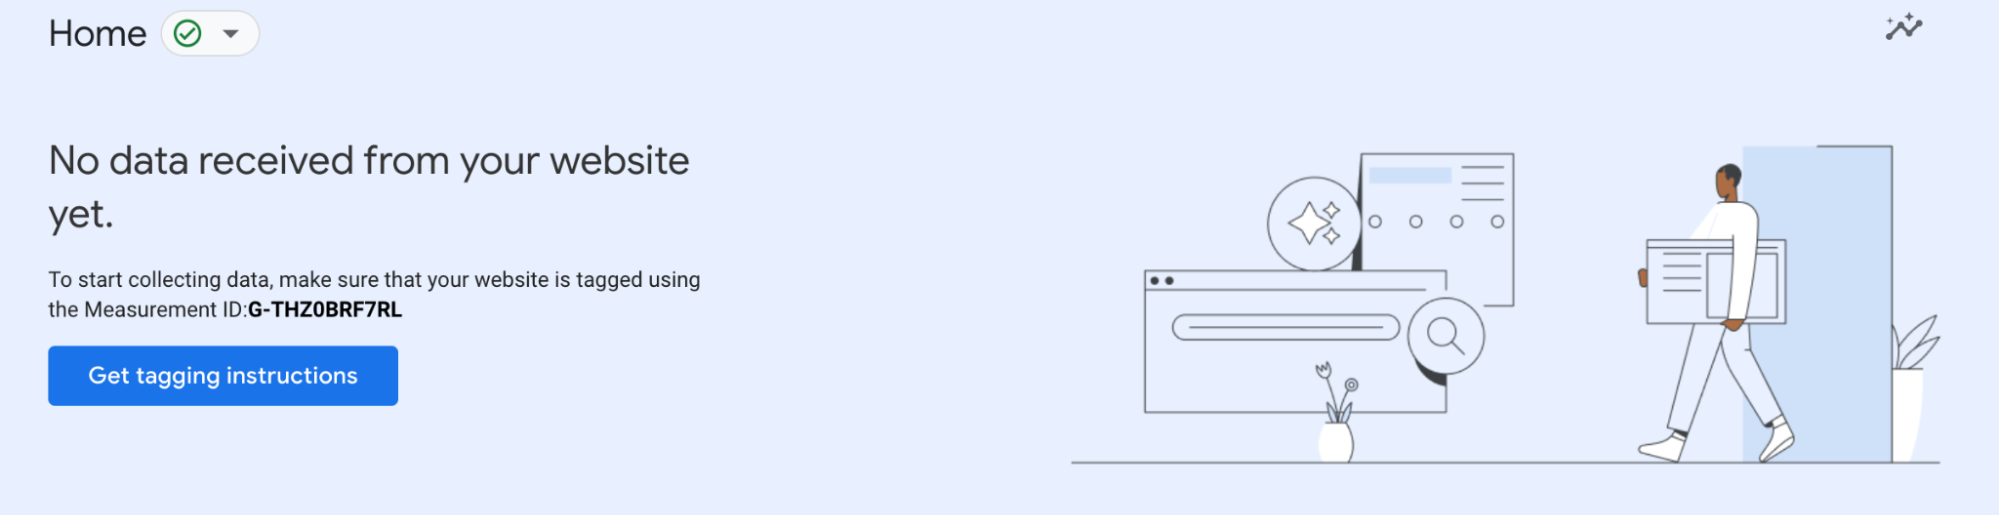
Step 5: In order to start the data collection, you’ll need to find your Measurement ID. This is shown in bold below and is usually in this format: 'G-THZ034FTLR'
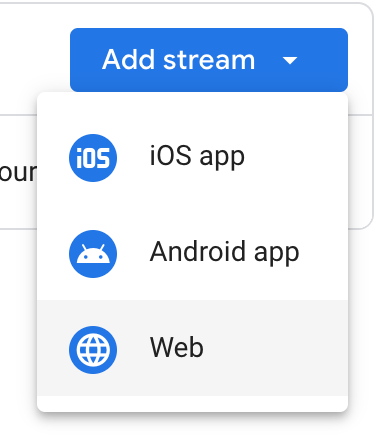
Step 6: Instead of Views, GA4 has Data Streams. Expand the Add Stream dropdown and select the application to track.\
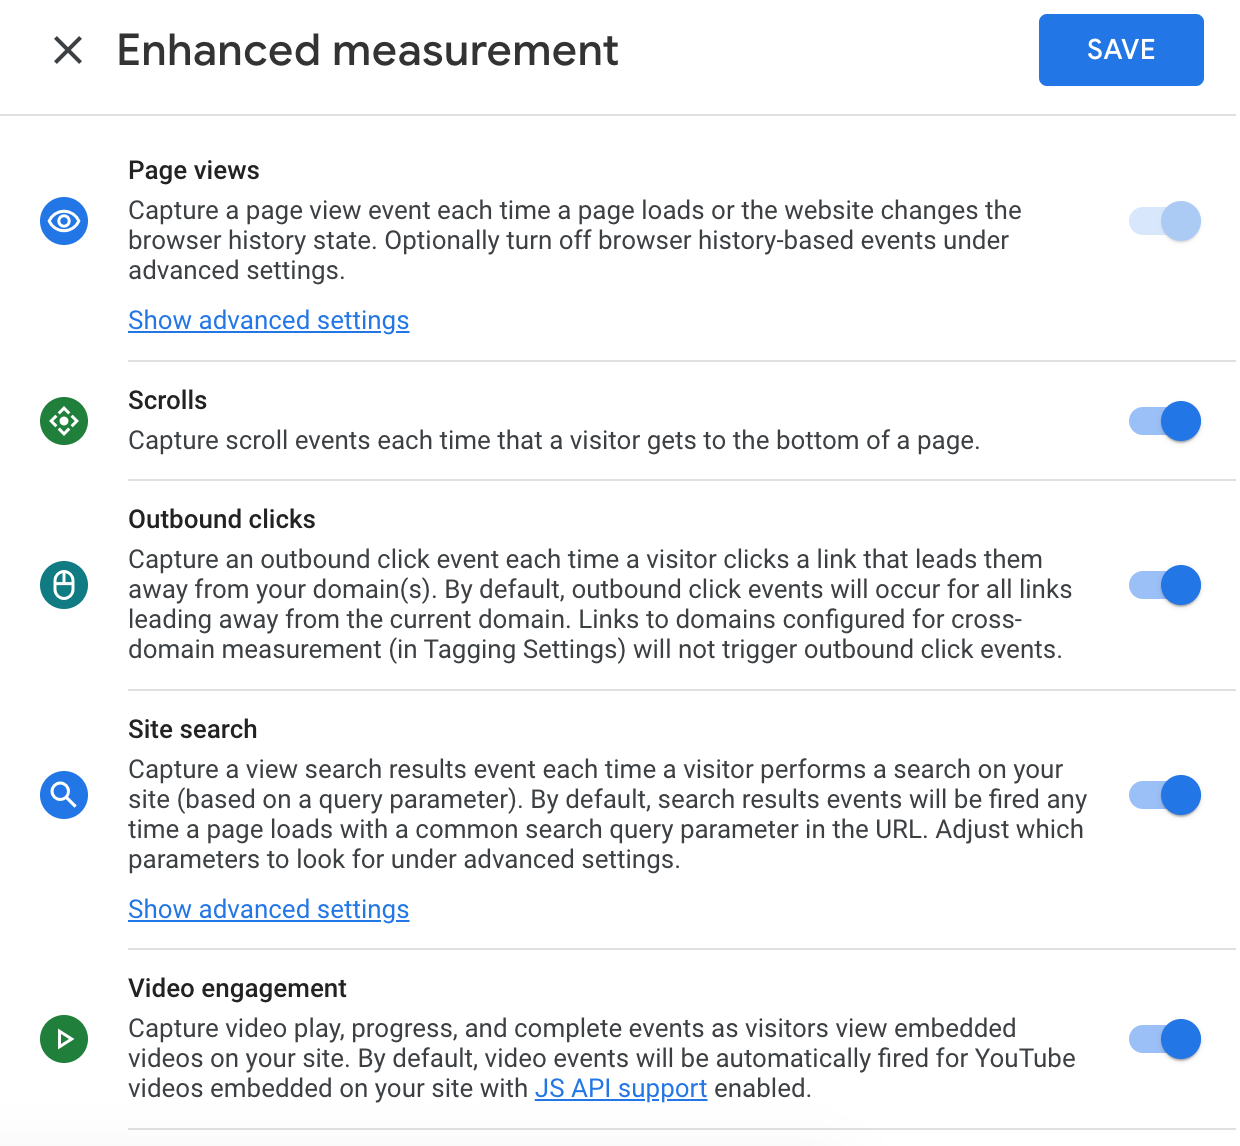
Step 7: Enter your Website URL and Stream name. Click ‘Create Stream’
Step 8: Copy the Measurement ID
Google Tag Manager
Step 9: Go to your Google Tag Manager Dashboard and create a New Tag, Select ‘Tag Configuration,’ and choose ‘Google Analytics: GA4 Configuration’ as the Tag Type.
Step 10: Add the Measurement ID
Step 11: Now that the Tag is set, configure your Trigger to fire on All Pages and hit Save to complete the GA4 Configuration
Now that you’ve set up GA4, you can start using it to track users and their actions more effectively. If you require assistance in making the switch, setting up the relevant streams and configuring GA4 to work best for you - just get in touch, we’ll be happy to help!
Resources
Google Analytics Help - Set up Analytics for a website and/or app
Google Analytics Help - Make the switch to Google Analytics 4